Comprehensive Guide to Laying Floor Tile on Concrete

When it comes to home improvement, installing a new tile floor won't just boost the aesthetic of your home, but also its market value. One of the most durable and reliable surfaces to install tile on is a concrete slab.
If you're a DIYer looking to lay ceramic tile, porcelain tile, or another type of tile, the following guide will walk you through the steps to ensure a professional and long-lasting tile installation.
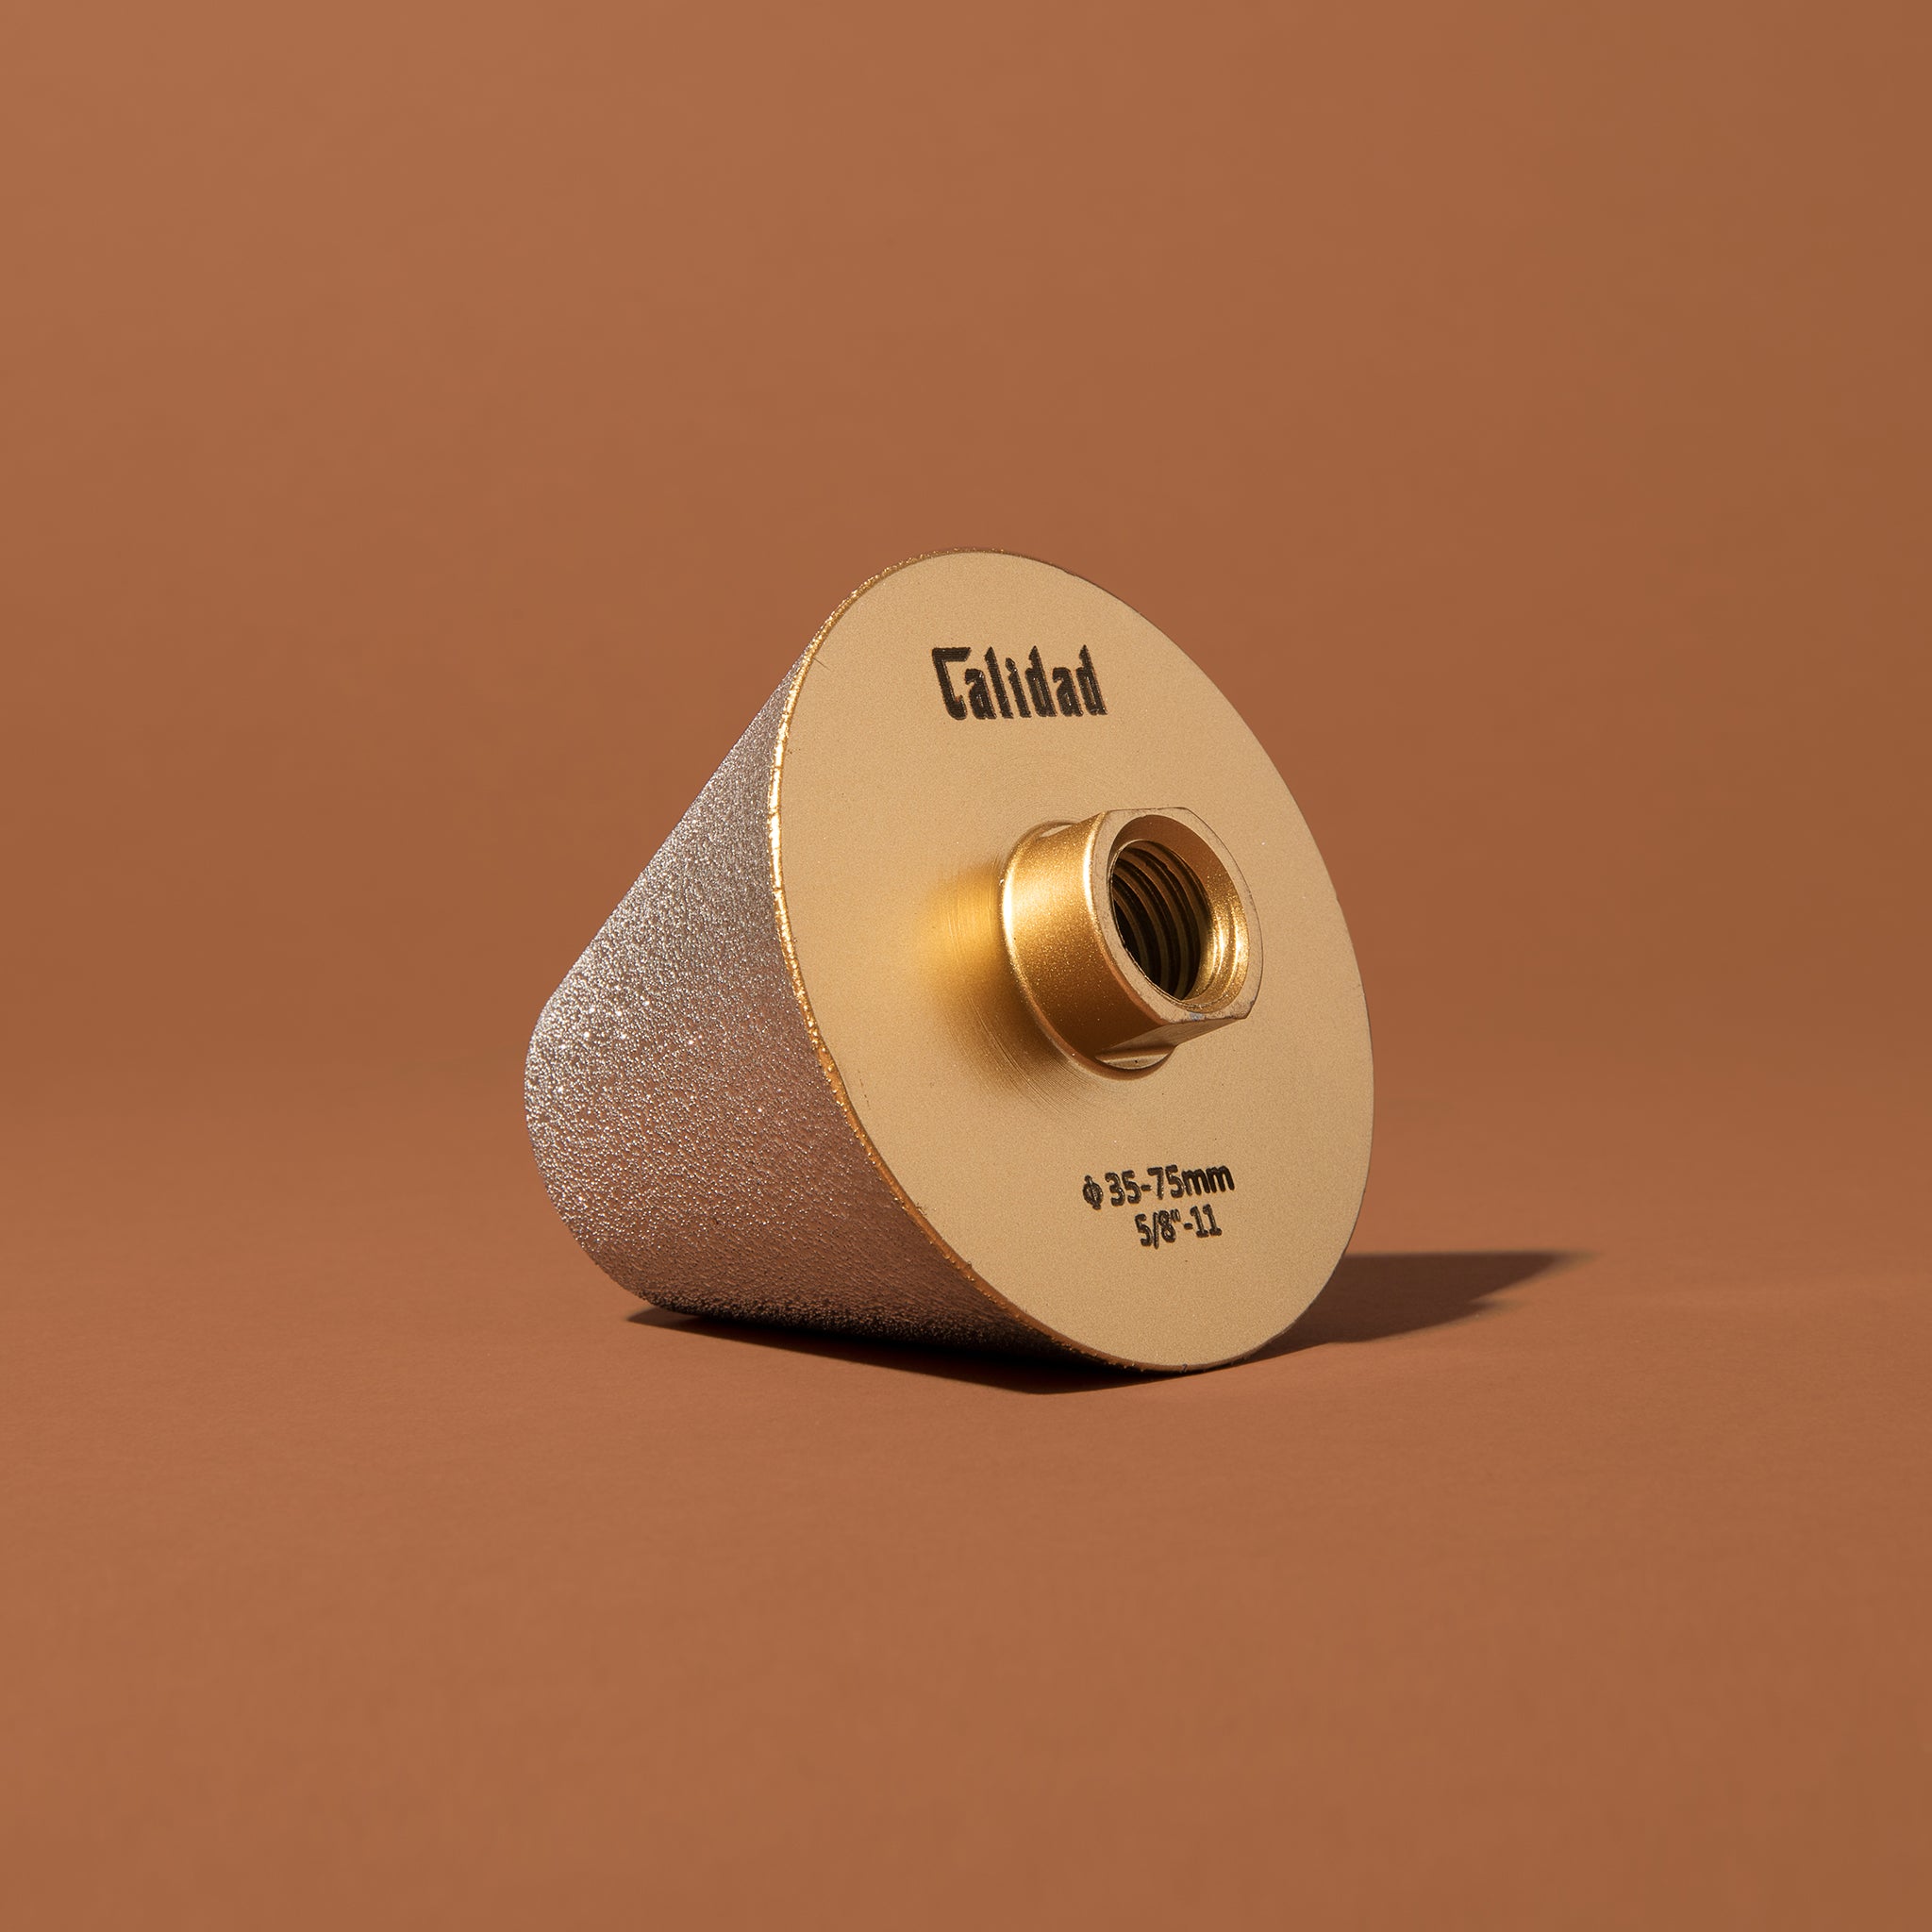
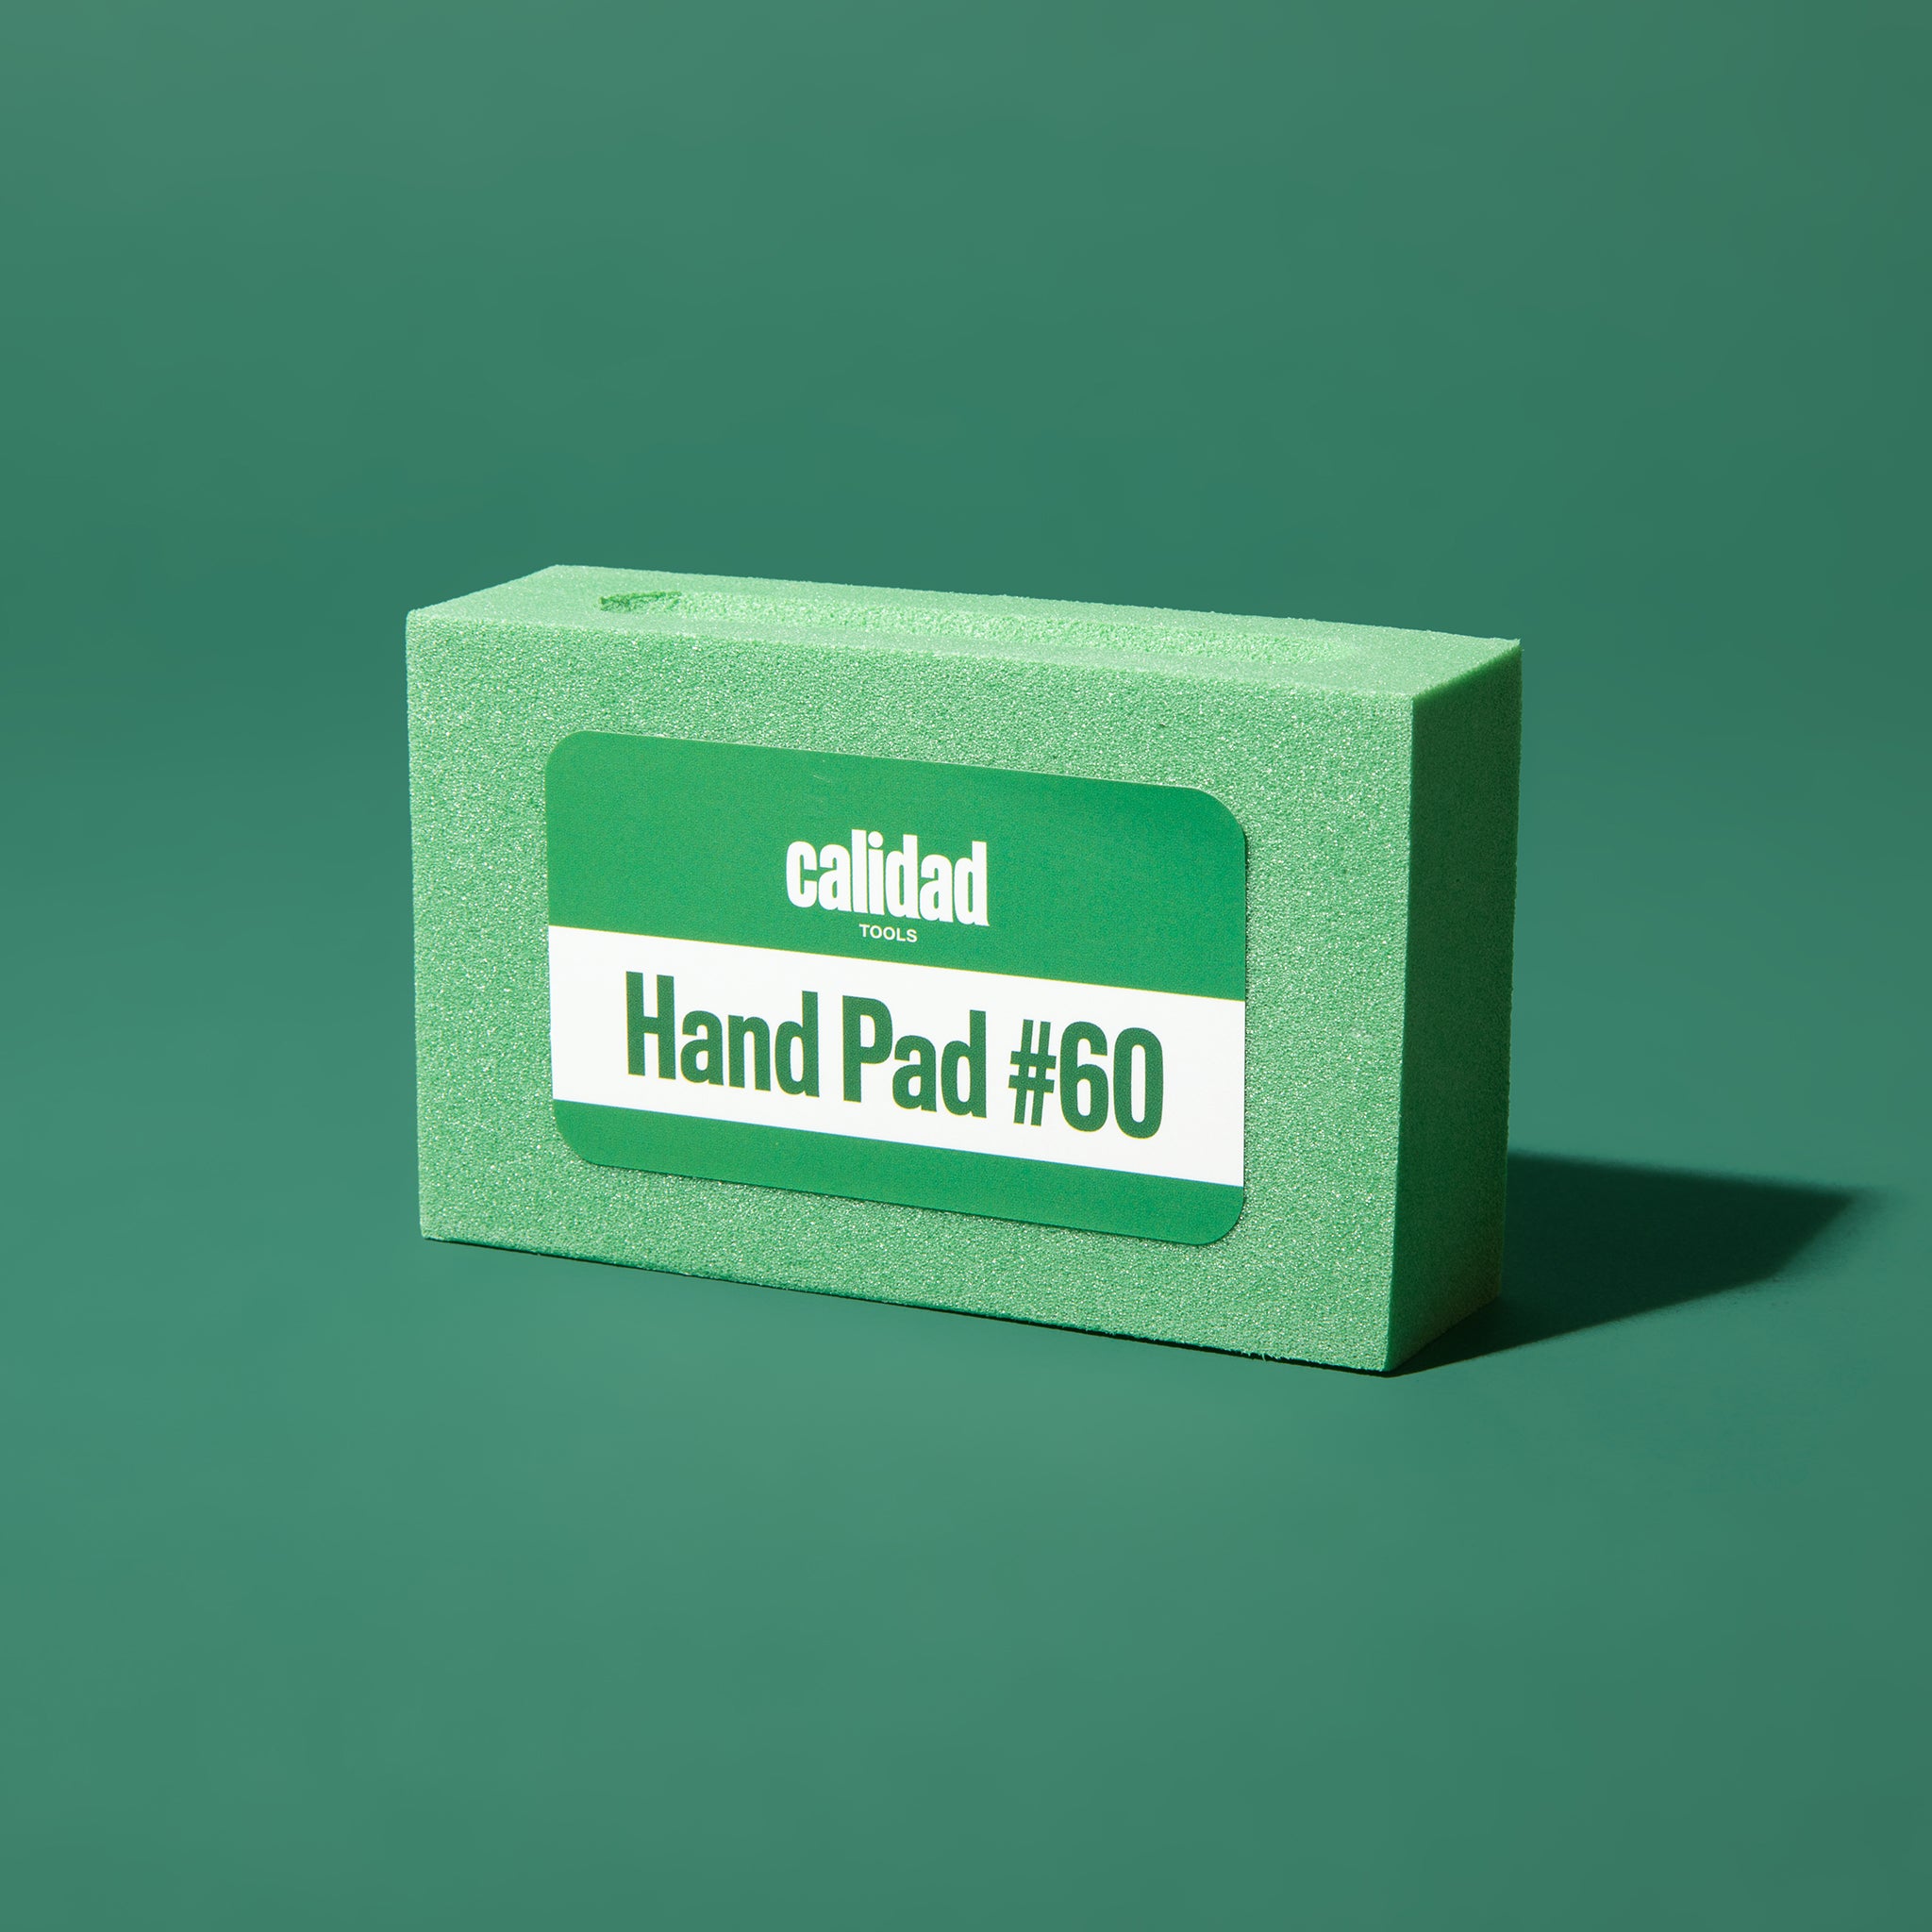
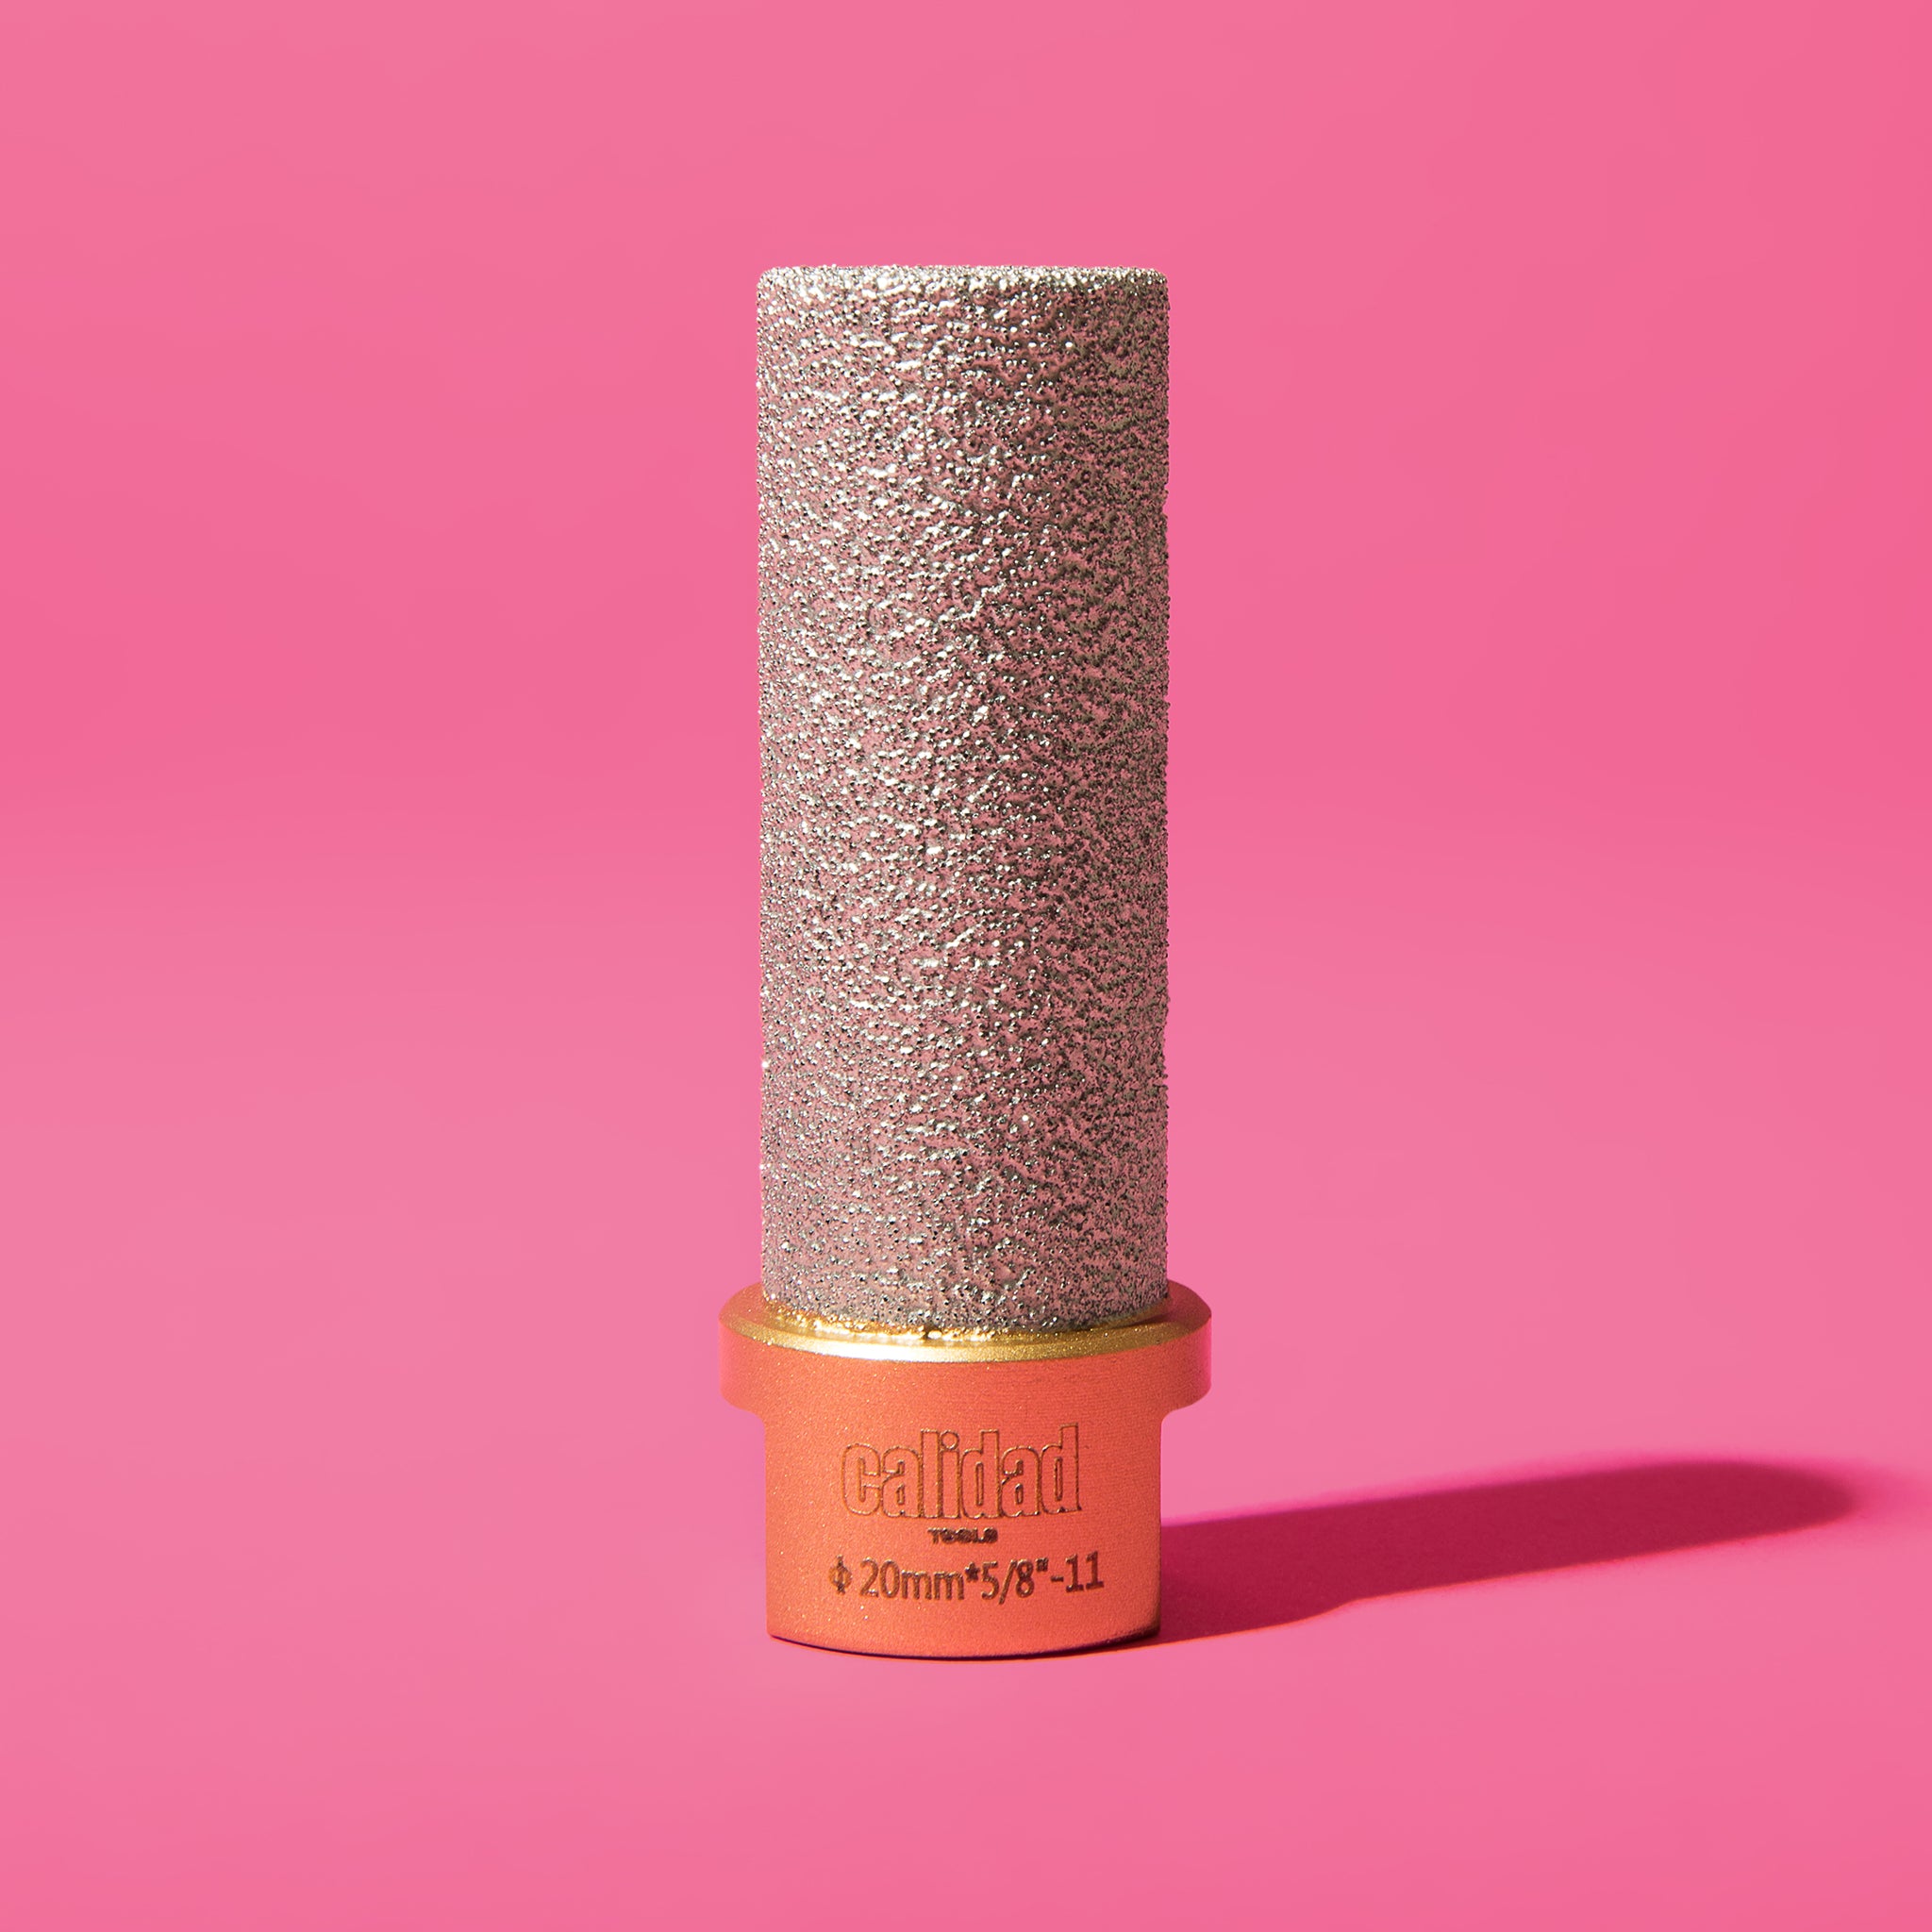
And if you're looking for some premium quality tiling tools that won't break your bank, you can check out our store. We have everything you need from trowels, grinder blades, leveling systems and even hole saws.
Preparing To Lay Tile On Concrete

Before you start tiling, it’s crucial to prepare the concrete subfloor properly. The surface of the concrete must be clean, level, and free of cracks. Dirt, grease, or debris can prevent the tile adhesive from bonding correctly.
This is why you need to use detergent and water to clean the slab thoroughly. For tough stains or grease spots, a trisodium phosphate (TSP) solution can be very effective.
Assessing and Cleaning the Concrete Slab
Once you're done cleaning you need to do some inspecting:
- Inspect for Cracks - Look for any cracks in the concrete floor. These need to be repaired to prevent them from affecting your new tile floor. Use an epoxy filler to fill any cracks, ensuring the surface is smooth and even.
- Check for Levelness - The concrete floor must be level. Use a spirit level to check for any low spots or uneven areas. If the floor is not level, you may need to apply a self-leveling compound to even it out. Mix the self-leveling compound according to the manufacturer’s instructions and pour it over the low spots, using a notched trowel to spread it evenly.
- Control and Expansion Joints - Identify any control joints or expansion joints in the concrete. These joints are essential for allowing movement and preventing cracks in the slab. Make sure these joints are accounted for in your tiling plan.
Priming and Sealing the Concrete
To ensure the best adhesion of the tile to the concrete slab, you need to seal the concrete with a primer. A suitable primer or bonding agent, like a liquid anti-fracture membrane, will help prevent cracks from transferring to the tiles.
To apply the primer just use a roller brush to apply a thick coat of primer to the entire area where you plan to install tile. Allow the primer to dry completely as per the manufacturer’s instructions.
Laying the Tiles

With all the prep work done, it's time to start laying tile!
Planning Your Layout
A well-planned layout is crucial for a professional-looking tile installation. Start by measuring the length and width of the room to determine the center point. Use a chalk line to mark the center lines both horizontally and vertically.
- Dry Laying the Tiles - Before applying any adhesive, lay the tiles directly onto the concrete floor without adhesive to see how they will fit. This step will help you make any necessary adjustments and ensure you have the proper spacing.
- Tile Spacers - Use tile spacers to maintain consistent grout lines between the tiles. This will help ensure your tile installation is even and professional.
Applying the Adhesive
The type of adhesive you use will depend on the tile material and the conditions of your subfloor. A thinset mortar is ideal for most applications because it provides a strong bond and is easy to work with.
- Mix the Thinset - Mix the thinset mortar according to the manufacturer’s instructions. You should aim for a peanut butter-like consistency.
- Apply the Thinset - Using a notched trowel, spread the thinset onto the concrete floor, starting from your center lines and working outwards. The notched edge will create ridges in the adhesive, which helps to ensure a strong bond when you lay the tile.
- Set the Tiles - Place each tile firmly into the thinset, using a twisting motion to ensure full contact with the adhesive. Continue this process, using tile spacers to maintain even grout lines.
- Check for Levelness - As you lay the tiles, occasionally check that they are level using a spirit level. If any tiles are not level, tap them lightly with a rubber mallet to adjust them.
Cutting and Fitting Tiles
Here's a very short guide on how to cut tile:
- Cutting Tiles - For the edges and corners where full tiles do not fit, you’ll need to cut tiles to size. Use a tile cutter or an electric wet tile cutter for precise cuts. Always wear safety goggles and gloves when cutting tiles.
- Tile Nippers - For small adjustments or to cut around obstacles, tile nippers can be very useful.

Grouting the Tiles
Once all the tiles are laid and the adhesive has set (usually 24-48 hours), you can begin grouting.
- Mix the Grout - Mix the grout according to the manufacturer’s instructions. Use a grout float to apply the grout, pressing it into the spaces between the tiles.
- Clean Excess Grout - After grouting several rows, wipe away excess grout with a damp sponge before it begins to harden.
- Smooth the Grout Lines - Use a grout finishing tool to smooth and shape the grout lines.
- Allow to Set - Let the grout dry completely as per the manufacturer’s instructions.
Sealing and Finishing
With all the tiles installed, you need to seal them:
- Seal the Grout - Once the grout has fully cured, apply a grout sealer to protect it from stains and moisture.
- Flexible Sealant - Apply a flexible sealant around the perimeter of the tiled area to allow for expansion and prevent water ingress. Use masking tape to ensure clean lines.
Additional Considerations

Underlayment and Membranes
In some cases, especially when dealing with potential moisture issues or when laying tile on a particularly large concrete slab, you may need to install an underlayment or crack isolation membrane. Products like Ditra or other membrane sheets can provide additional protection and help prevent tiles from cracking.
Maintaining Your Tile Floor
Regular maintenance will keep your tile floor looking new for years. Clean the tiles with a mild detergent and water, and avoid harsh chemicals that can damage the grout. Periodically reseal the grout to maintain its protective properties.
Conclusion
Laying tile on concrete can be a rewarding home improvement project, giving you a durable and attractive floor. By following these steps and using the right materials, such as thinset mortar, tile adhesive, and a suitable primer, you can ensure a successful tile installation.
Remember to take your time, follow the manufacturer’s instructions, and pay attention to detail to achieve the best results.
Don't forget, if you're looking for premium-quality tiling tools, be sure to check out our store!


