How To Fix A Loose Tile - A Complete Guide

You'd think that once they're on, tiles will never get loose or crack. However, that's not always the case.
Loose tiles are more than just a cosmetic problem, they can also lead to bodily injury since they're trip hazards. Oh, and let's not forget about the water damage risk these tiles pose.
So, what are your possible solutions?You can call a professional to fix it and spend a small fortune. Or, you can do it yourself, save that sweet cash, and learn something along the way.
In this article, I'll go over what causes tiles to become loose, and I'll show you how you can fix loose tiles in just a couple of steps.
What Causes A Tile To Become Loose Or Borken?


There are a few reasons why your tiles became loose/cracked. These include:
Temperature changes - Just like every material, tiles contract in the cold and expand in the heat. Although it's a pretty minor change in size, when you multiply it with all the tiles, that's quite a lot of shifting.
House Movement - Most houses shift and settle over time. This also means the walls in your house will also shift, taking with them all the mortar holding the tiles.
Type of adhesive - Not all tile adhesive is the same. Some adhesives just aren't strong enough to hold tiles, which will lead to them loosening over time. Even high-quality stuff will weaken over time.
Spot Bonding - Some tilers spot bond as a way of installing tiles. This involves putting a lot of adhesive on the corners and the middle of the tile before placing it on the substrate. This leaves a lot of gaps, which allows for the tile to become loose.
How To Fix A Loose Tile
Now that you know why your tile became loose, it's time to learn how to fix them.
First, I'll go over how you can spot a loose tile and then move on to how you should remove it and install a new one.

How To Spot A Loose Tile
The best and easiest way to spot a loose tile is by simply knocking on it. If you hear ringing, it's loose.
Do you know what they say about loose tiles?
They like traveling in groups. Just because you've found one, that doesn't mean there aren't a couple more lurking around.
So, don't stop after you've stopped one. Knock on all the surrounding tiles just to check if they haven't gone loose too.
Now, just because you've spotted a couple of loose tiles, that doesn't mean the apocalypse is near. Replacing a tile is a relatively simple home improvement job.

What You'll Need For Loose Tile Repair
Just about any home maintenance job is similar to cooking. Before you get to throwing all the ingredients into the pot, you have to prepare them. So, before you jump into the repair proper, you have to get all the tools you'll need.
Here's what you'll need:
* Hammer
* Chisel or a putty knife
* Grout saw
* A drill with a tile drill bit
* Tile adhesive
* Grout
* Grout trowel
* Grout sponge
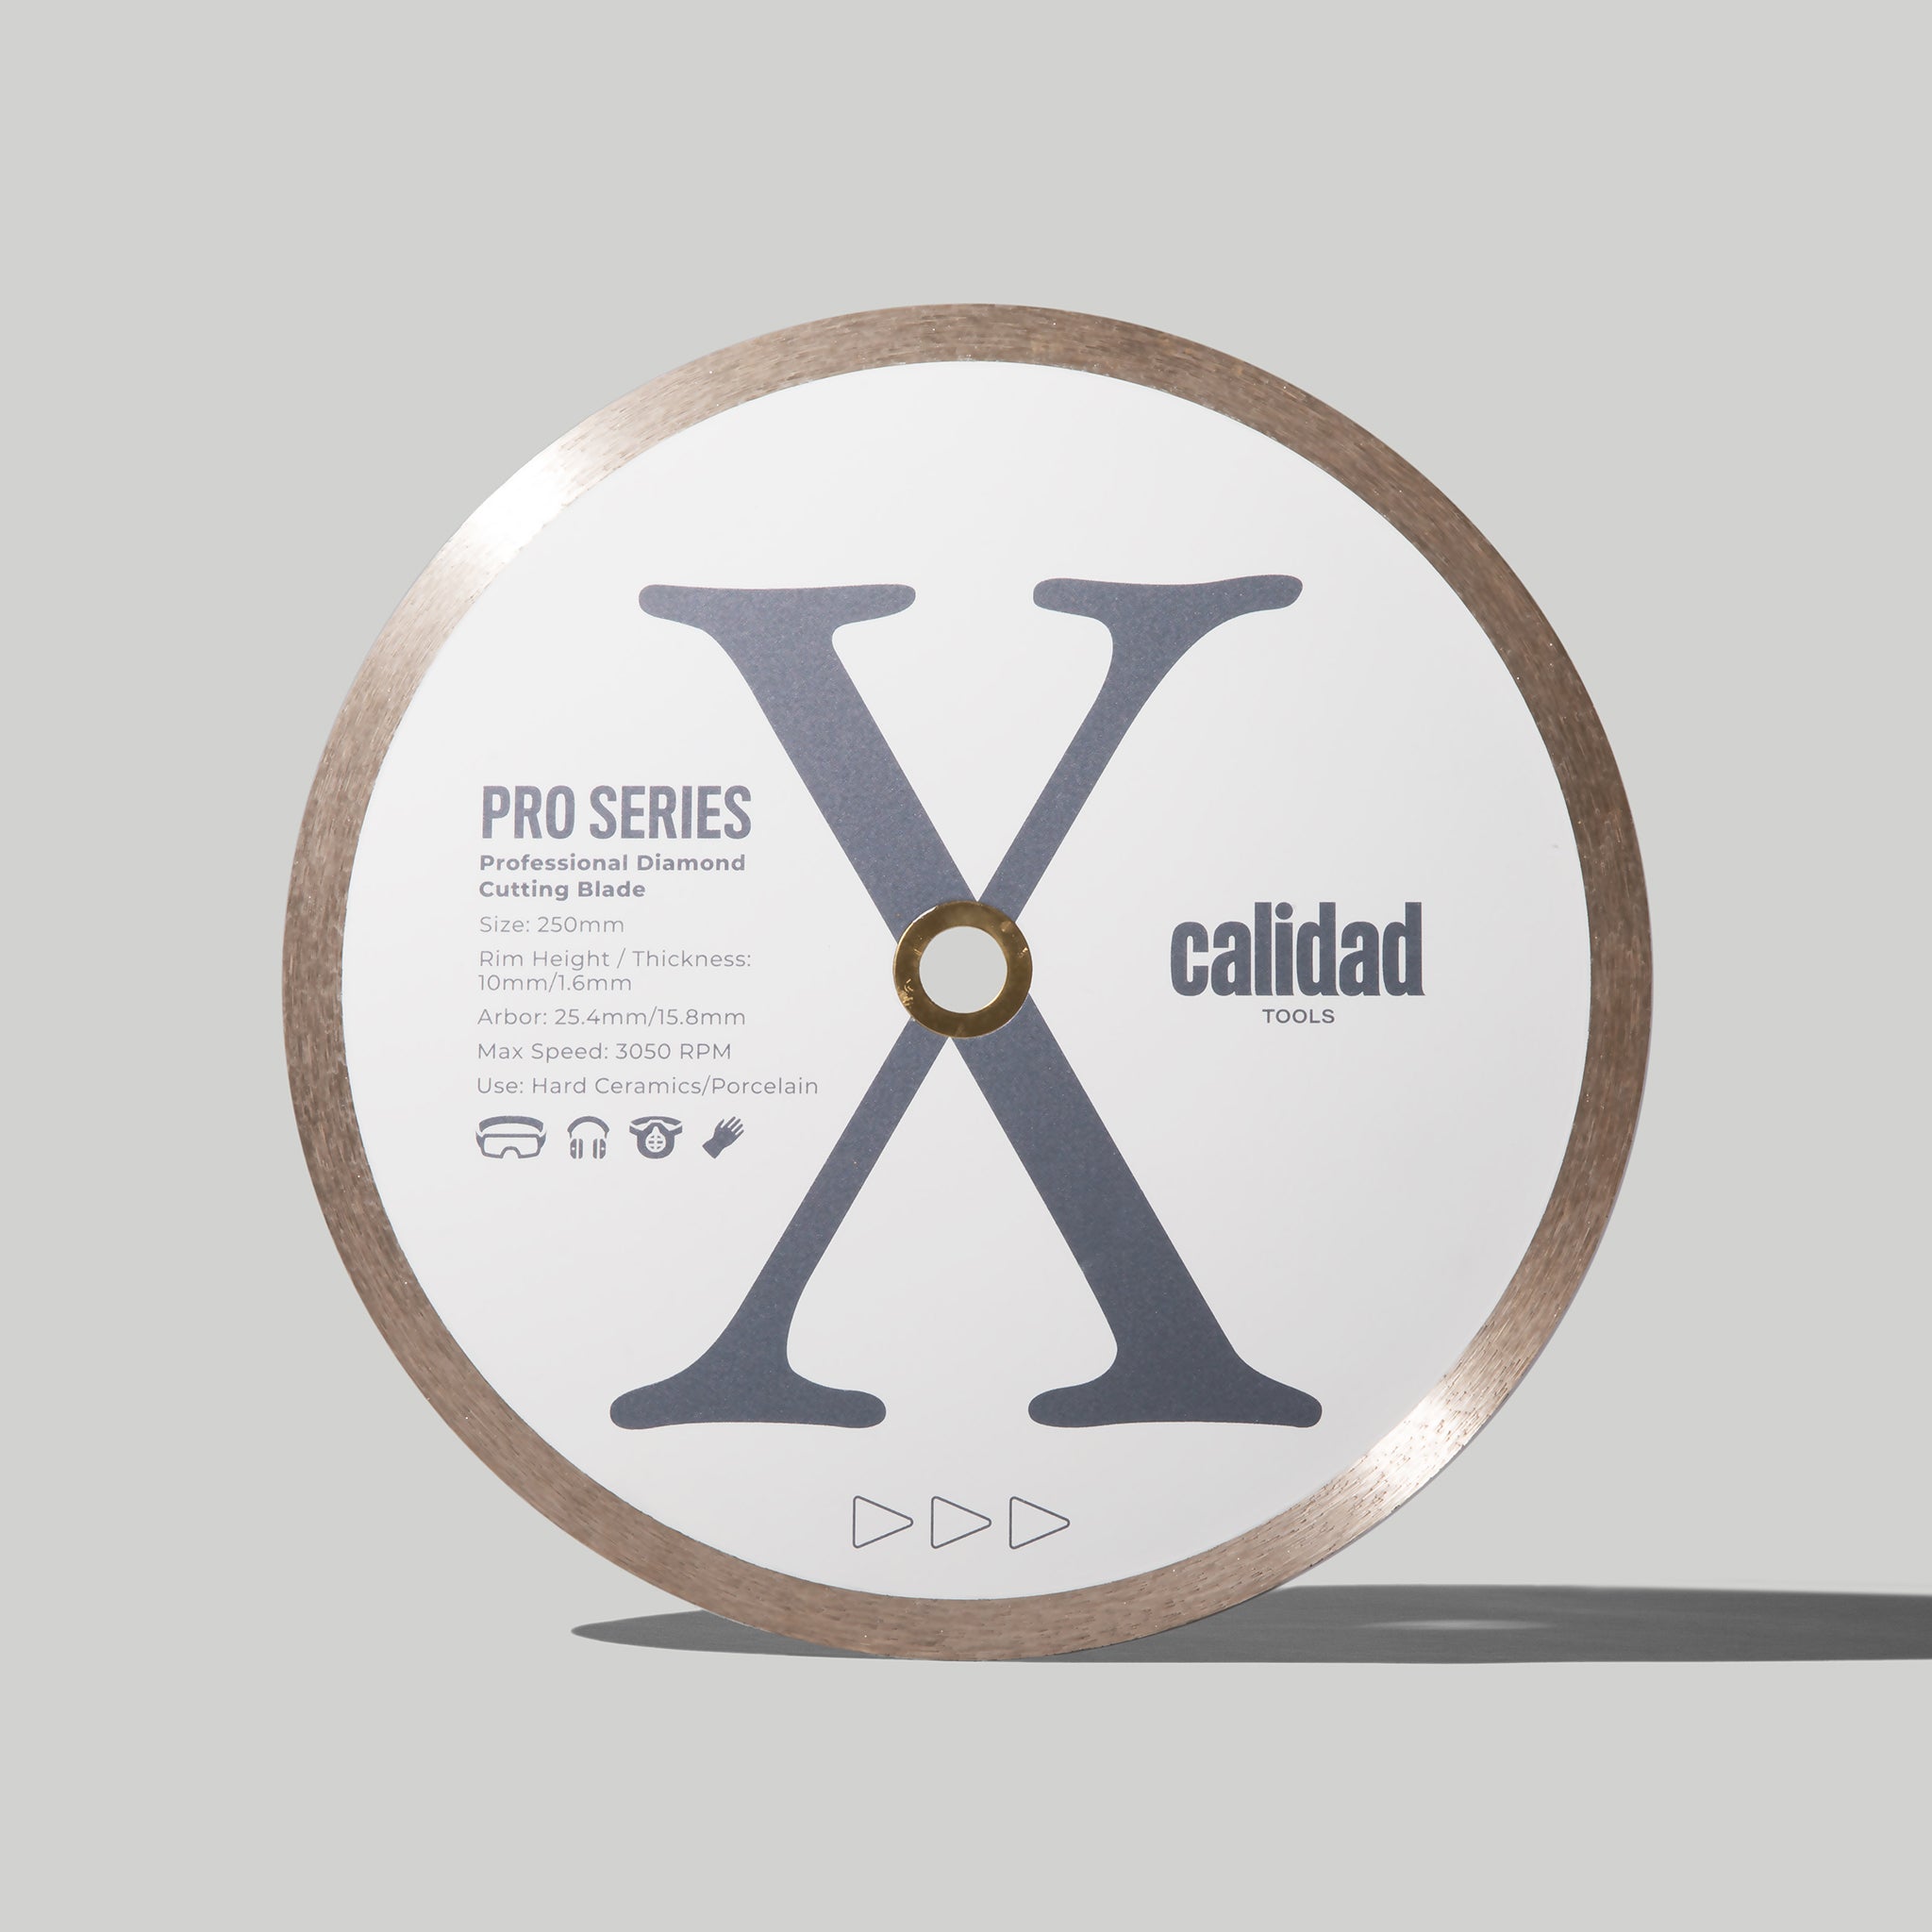
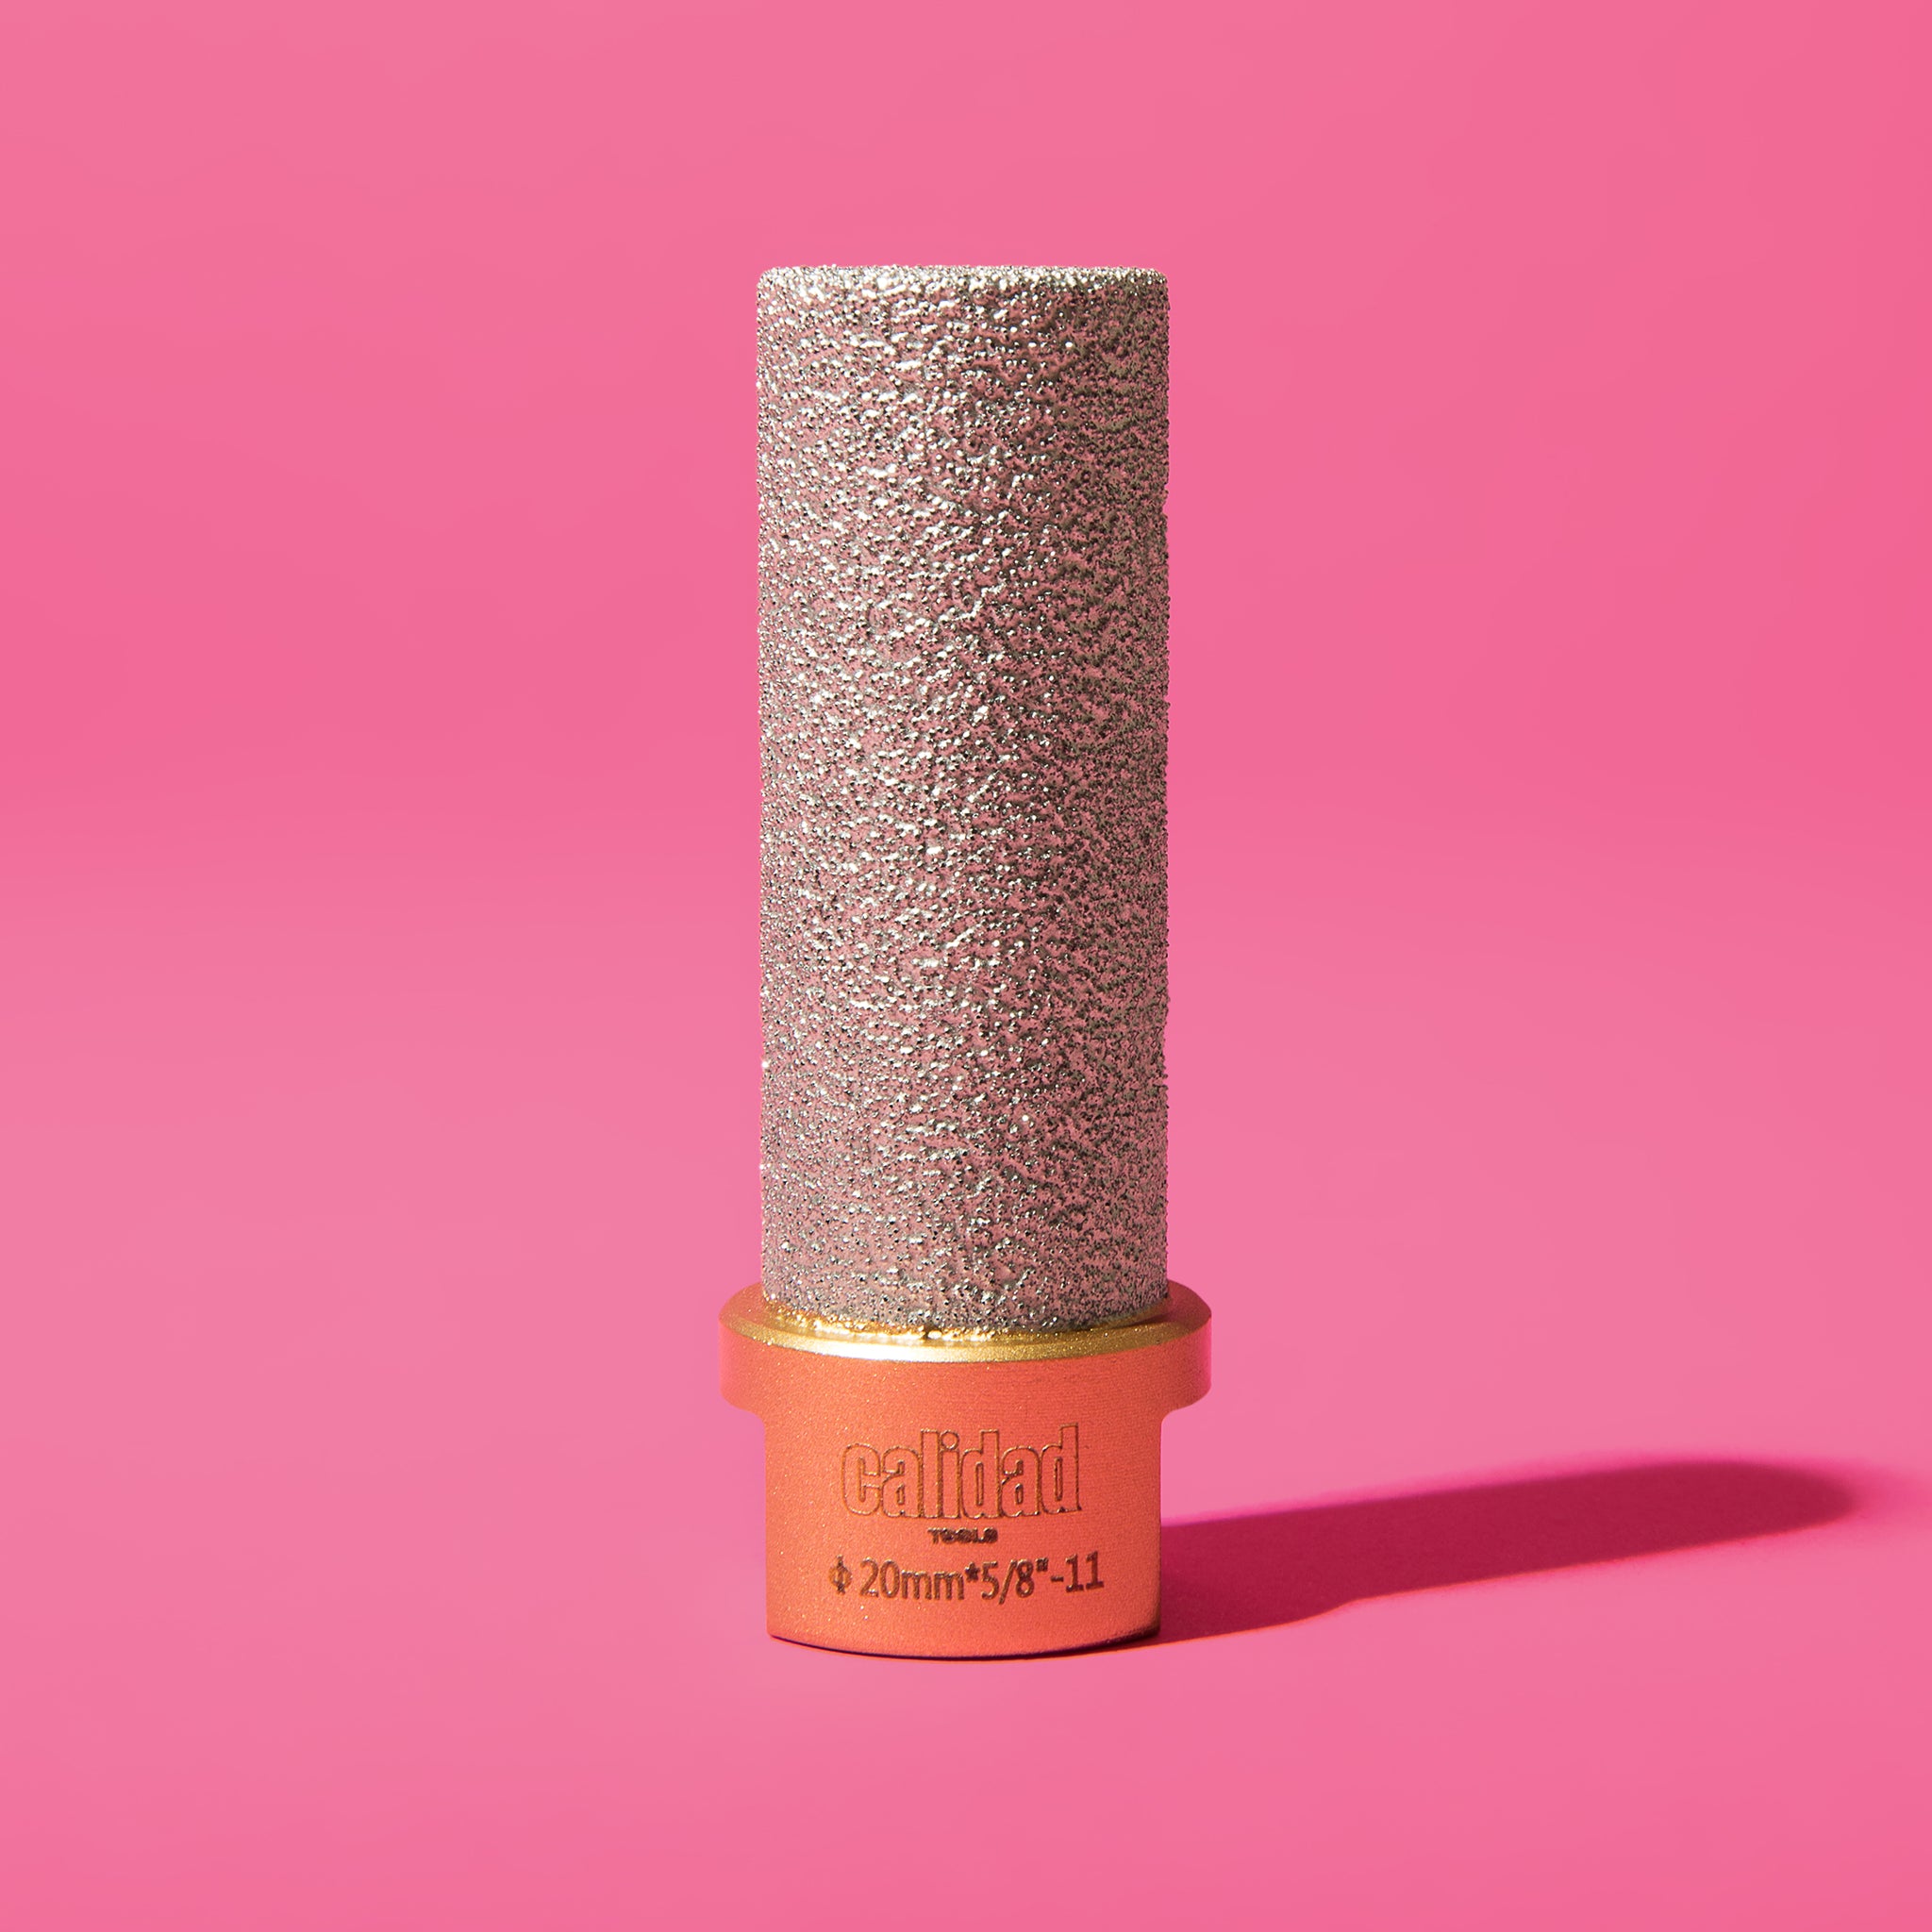
Oh, if a cut tile has come loose, then you'll also need an angle grinder and a blade that's capable of cutting tiles, such as our Butter Cutter blade.
With your tools all ready and set, it's time to move on to the next step of this DIY job, removing the tiles.


How To Remove A Loose Tile
Unfortunately, removing a tile that's become loose is a bit trickier than you think.You can't just get your hammer and go ham on it.
Oh, no - first, you have to remove the existing grout around the tile. This is crucial since that will stop any pressure you're exerting on the tile you're removing from transferring to surrounding tiles.
Next, you need to take your chisel or a putty knife and slide it under the edge of the tile you're trying to remove. Try to keep the angle low and ease it under the tile by gently applying more pressure.
If there's a lot of adhesive still keeping the tile stuck to the surface, you can use the hammer to tap on the handle of the chisel gently. With enough patience, you'll be able to lift the tile without even breaking it.
If that doesn't work, you can pull out the big guns - those being the drill and the hammer. Drill out a couple of holes in the center of the tile. Don't overdo it.
Just make sure you've drilled to the adhesive layer.Next, use the chisel and hammer to slowly but surely break off all the pieces of the tile that are still sticking to the wall/floor.

Cleaning Up The Space
With the problematic tile finally off, it's time to clean up the surface for the new tile.
In most cases, you'll have a ton of old adhesive still stuck to the substrate. What you need to do before installing a new tile is to scrape away the old adhesive.
You can do this with a hammer and a chisel.But if you don't want to spend an hour chiseling the mortar away, you can use an oscillating multitool with an adhesive removal attachment.
No matter what technique you use, you need to ensure nothing happens to the substrate below the adhesive or the tiles around it.Once you've dealt with all the old adhesive, you need to make sure the area is as clean as possible.
So, take out your trusty vacuum and suck out any dust and debris lying around. Once that's done, you can use a wet sponge to clean the surface some more. Once the area has completely dried, you can move on to tile installation.

Installing The Tile
Installing a tile is pretty simple. You first need to make sure it fits. If it doesn't, you'll have to cut it to size. Once that's done, you should place the tile without any adhesive to make sure it's just a tad bit lower than the other tiles. This way, you won't have to deal with any lippage once you apply new adhesive.
Now, it's finally time to apply the adhesive to the area you've prepped. Use the trowel to apply a decent amount of adhesive to the surface you're going to put the tile in. Don't make it too thin or too thick. You want an even, thick layer that'll give the tile a solid base to adhere to.
Next, you have to apply a bit less generous layer of adhesive to the back of the tile. In the tiling business, we call this buttering the tile up. Make sure you've filled out all the indentations with adhesive - this will ensure the tile doesn't come loose so easily over time.
With the tile all buttered up, it's time to install it. Place it carefully so it aligns with the other tiles, and press it down. Make sure to spread out the pressure evenly. This will spread out the adhesive and get rid of any air pockets. You need to remove any excess adhesive that spills out of the grout lines.
Otherwise, you won't be able to grout it properly.With the tile nice and flush with other ones, all you have to do now is wait for everything to dry out. I recommend you wait for at least 24 hours before grouting it.


Grouting And Sealing
Okay, you're almost done. All that's left is to grout the tile so it blends with the rest of the floor/wall.
Grout serves more purposes than just aesthetics. It also acts as a seal that keeps moisture and dirt from getting under the tiles.
Grab your grout and slap it on the tiles and in the gaps with a grout float. Really press down to make sure it fills up all the spaces and sticks well.
It's kind of like spreading icing on a cake; make sure the grout goes on smoothly and evenly in between the tiles.
After you've filled up the gaps, you'll see some grout on the tile surface. Don't let it dry there; get a sponge wet with warm water and wipe off the extra grout.
Remember, the sponge shouldn't be soaking wet, just damp. Too much water can wash away the fresh grout.
Let the grout dry. It's another waiting game, but be patient. Once the grout is good and hard, it's time for the final step – sealing.
The grout sealer acts like a shield, keeping the grout safe from stains and water soaking in. Follow the instructions on the bottle to put on the sealer.
And you're done! You now have a new tile that won't get loose any time soon.

Conclusion
Well done, handyman! You took a wobbly tile situation and turned it into a successful home repair win.
Now you know how to identify, remove, and fix loose tiles, stopping any water damage in its tracks.You're not stuck dealing with those irritating loose tiles anymore.
Instead, you're geared up to face them directly, equipped with the know-how and tools to keep your floor in great shape. Bravo!

