A Complete Guide On Tile Underlayment
If you've been in the tiling business for a minute, you might be familiar with tile underlayments. In fact, you need some type of underlayment when installing tile.
Underlayment is nothing more than a solid stabilizing layer that sits below the tile and the adhesive. In most cases, that's just thinset mortar. But did you know that there are more types of underlayment than good old mortar?
There are also backer boards, uncoupling membranes, and much more. In this article, I'll review each type of tile underlayment, its pros and cons, and where it's best implemented.
But before I get to that, we need to talk about subfloors and substrates.
A Short Guide On Subfloors And Substrates
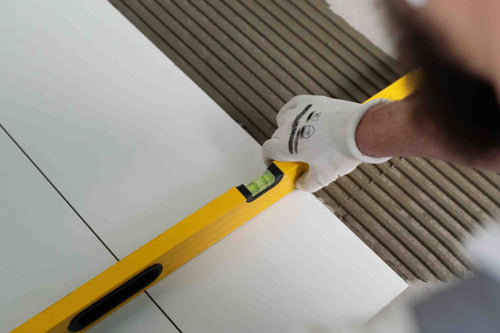
Before diving into underlayments, let’s talk about what a subfloor is and the types you might run into.
Simply put, a subfloor is the foundation of your flooring. It serves as a barrier between the ceramic tile and the floor. It typically falls into one of two categories:
- Concrete
- Wood (like plywood over floor joists)
Concrete Subfloor
It's totally fine to lay tile directly on concrete using thinset mortar. But here's the catch: the concrete has to be flat and crack-free. Now, that's easier said than done for most concrete floors.
So, if your concrete isn't up to snuff and needs some leveling or crack repair, you'll need to put down an underlayment. And that's where this guide steps in to help you out.
Wood Subfloor
Unlike concrete, you can't just slap tiles directly onto a wood subfloor. Nope, wooden subfloors need some extra love in the form of a tile underlayment.
Now, if your floor is on the second story, has a basement underneath, or maybe even a crawlspace, chances are it's sitting on a wood subfloor.
Here's the lowdown on the two main types you're likely to come across:
- Plywood Subfloor - This type of subfloor is laid right over those floor joists. Picture it: sturdy sheets of plywood, about 5/8ths or 3/4 inches thick, locking together snugly with a tongue & groove system. Oh, and here's a pro tip: when you're laying those sheets, make sure the wood grain runs perpendicular to those floor joists.
- OSB Subfloor - You've probably seen it around—it's that plywood with those chunky wood chips all pressed together. Just like plywood, it's got that trusty tongue & groove setup, but it's usually a hearty 3/4 inch thick or even thicker. But here's the thing: not all products or thinsets play nice with OSB. You'll want to dive into the specifics and read up on what works best for your setup.
Alright, now that we've got the basics down, let's dive into tile underlayment.
Best Tile Underlayment Options - A Complete Guide
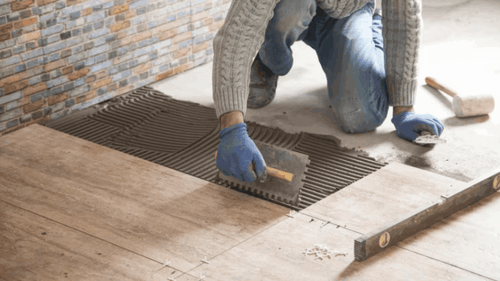
Alright, so when you're talkin' about underlayment for tile, it's basically just somethin' you slap down between the tile and the subfloor to make sure everything stays sturdy and watertight.
Now, there's a few options folks usually go for:
- Backer board
- Backer boardUncoupling membranes
- Crack isolation membranes
- Trowelable or pourable underlayments
- Plywood
Each of these does its own job to keep your tile lookin' good and your floor strong.
Tile Underlayment: Backer Boards
Let's talk about the tile backer board. It's the go-to choice for most folks when they're laying down tile. You can use it on walls and floors, and it works in wet or dry areas.
Now, there are a bunch of different types and brands out there, but we'll stick to covering the basics for now.
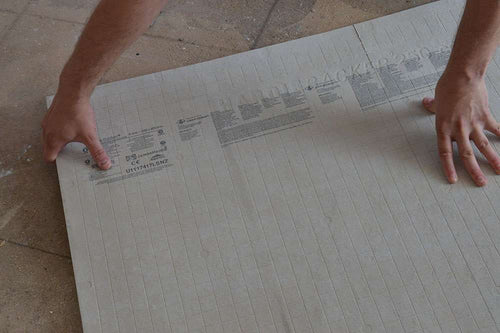
Cement Backer Boards
The cement backer board boasts a proven track record of tiling triumphs. Chances are, if you've tackled tiling before, you've worked with this reliable material. Installation involves troweling mortar onto the subfloor, embedding the backer board, and securely fastening it in place.
Here are some popular options for tile backer boards: USG Durock, Custom Wonderboard, and Hardibacker.
These are the go-to choices for many because they're reliable and don't cost an arm and a leg.
You can use them on both walls and floors.
However, they do have their drawbacks. They can be a pain to cut, they're pretty heavy, and they kick up a lot of dust.
Foam Backer Boards
Foam backer boards are the new kids on the block in the world of tile underlayments. They're lightweight, waterproof, and a breeze to cut.But here's the catch – they can be pretty pricey.
While they're great for shower walls, many folks opt for something else when it comes to flooring. Unlike cementitious options, you can slap these foam boards right over a concrete subfloor if you want.
Some popular brands include Wedi, Schluter Kerdi-Board, and GoBoard. They're known for being lightweight, waterproof, and easy to cut. However, they do come with a hefty price tag.
Other Types Of Backer Boards
You don’t always need fancy tile underlayment for every tiling job. For instance, in a dry spot like a kitchen backsplash, it’s totally fine to slap tiles on regular drywall.
Another common option you might bump into is Densshield, also known as Coated Glass Mat Water-Resistant Gypsum Backer Board. It’s pretty popular.
In my opinion, it’s kind of basic. You might want to add a waterproofing layer like Kerdi or just pick something else. If you're eyeing Denshield or Sheetrock, these can be pretty straightforward to slice and lay down.
But, keep in mind, they're both gypsum-based. Some folks might prefer something else.
Tile Underlayment - Uncoupling Membranes
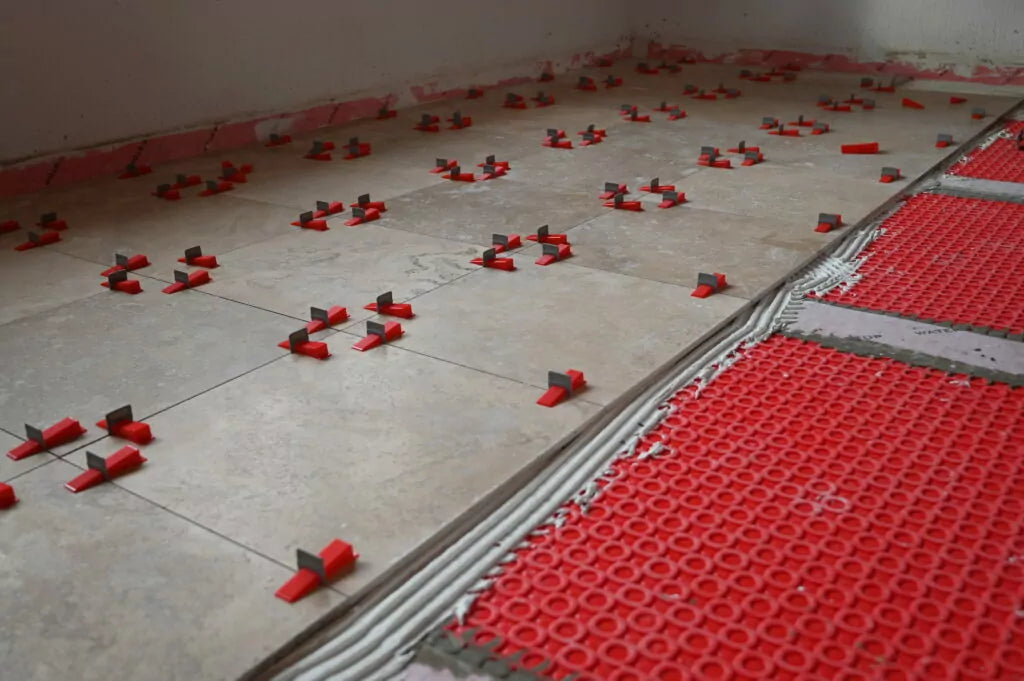
The uncoupling membrane prevents the floor from flexing. Well, it prevents the tile surface from moving if the floor underneath isn't the most stable. They also provide a waterproof barrier, but those types of membranes are a bit pricier.
Not too many moons ago, Schluter brought out their unique, waffle-patterned plastic sheet that had others shaking their heads. But guess what? Ditra got the upper hand now, as every other company has their own version of Ditra for tiling floors.
Plus, Ditra's simple installation has got a lot of contractors picking it over cement board for their floor. There are Schluter Ditra, Laticrete Stratamat, and Ardex Flexbone on the market.
These options offer lightweight, waterproof, and easy-to-cut features. However, they do have a minimum tile size requirement.
Crack Isolation Membranes
As previously mentioned, a crack-isolation membrane (CIS) is essential when tiling over concrete with cracks. It's crucial to differentiate between uncoupling membranes and crack isolation membranes.
While some uncoupling membranes also meet the standards for ANSI 118.12 Crack Isolation membranes, most do not. If a manufacturer asserts that their uncoupling membrane prevents cracks but it lacks certification as an A118.12 membrane, it's wise to approach that claim with skepticism until verified otherwise.
Liquid Crack Isolation Membranes
Applying liquid crack-isolation membranes might seem straightforward, but achieving a sufficiently thick and consistent coat can be trickier than anticipated. So when working with pourable underlayment products, make sure to follow the instructions to the letter.
While liquid crack-isolation membranes like Custom Redgard, Laticrete Hydroban, and Mapei Mapelastic are relatively affordable and easy to find, they can be more susceptible to errors during user installation and may require longer drying times.
Sheet Crack Isolation Membranes
The sheet membranes consistently deliver results. You can install them using thinset or glue, or some have a peel-and-stick option and a primer. Here are some products to consider: Nobleseal CIS, Mapeguard CI, and Custom Crack Buster Pro.
They offer proven performance and are relatively easy to install. However, they tend to be more expensive than liquid options, and availability can be a concern.
TIle Underlayments You Can Pour Or Trowel On
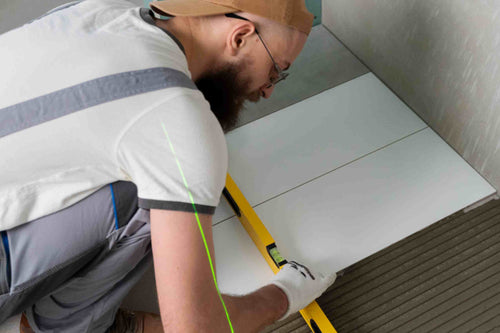
Self-Leveling Underlayment (Pourable Underlayment)
Using pourable self-leveling products, often referred to as "self-leveling underlayment" or SLUs, may seem like an overpromise and underdeliver scenario at first glance. However, these SLUs are becoming increasingly essential, especially when installing large format tiles.
While they can be costly and require careful setup and planning for proper pouring, they are often the best solution for addressing various issues in tiling projects. Here are some products to consider for your installation: Ardex Liquid Backer Board, Custom LevelQuik, and Mapei Novoplan.
These products have their advantages: they can achieve a perfectly flat floor over both wood and concrete subfloors. However, one drawback is that it can be challenging to achieve absolute flatness during the installation process.
Underlayment You Can Trowel On
Trowelable underlayments come in handy when you're dealing with a large area that needs leveling and spot patching, which isn't feasible. When it comes to walls, certain products are applied over backer board or concrete to even out the vertical surface before tiling.
As for floors, these underlayments serve various purposes, from creating ramps or slopes to flattening surfaces that might pose a challenge for self-leveling products. Trowelable underlayments like Ardex AM 100 and Planitop 330 are ideal when a perfectly level surface isn't necessary and patching small areas isn't feasible.
These products are commonly applied over backer boards or concrete walls to even out the surface before tiling. However, while they eliminate the need for precise leveling, they can be challenging to install. Check out our shop for quality trowels and other essential tools. We also have reliable equipment to aid in your tiling projects.
Underlayment Options For Patching Tile Floors
If you only need to address a few problem spots, these floor patching products are an excellent option. You can find a demonstration of how I leveled a section of a bathroom floor to match the rest using a floor flattening product on my YouTube channel.
Products like Ardex Feather Finish and CustomTech Silk are easy to apply with a trowel, dry quickly, and allow for mixing small batches, making them convenient for spot repairs. However, they are best suited for small areas and may not be suitable for larger projects.
Plywood Tile Underlayment
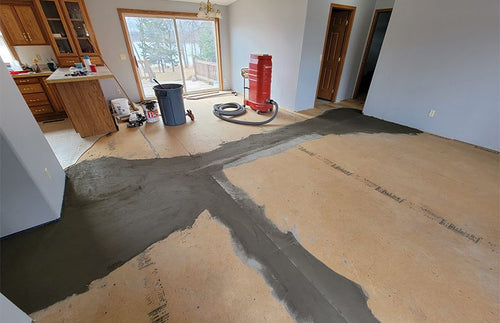
Let's start by distinguishing between plywood subfloors and plywood underlayment. Plywood underlayment refers to an additional layer of plywood placed on top of your existing plywood or OSB subfloor.
Typically 1/2 inch thick and made of exterior-grade plywood, this underlayment serves several purposes:
- Increasing floor height
- Adding structural support to the floor
- Preparing for the installation of natural stone
While it's technically possible to tile directly onto this plywood underlayment using suitable thinset mortar, it's advisable to consider other options.
I recommend installing another layer of underlayment over the plywood underlayment for added protection. Options include crack isolation membranes, uncoupling membranes, or backer boards.
These additions help mitigate the risks associated with wood's susceptibility to movement and swelling from water exposure, ensuring a more durable and long-lasting tile installation.
Conclusion
Understanding the importance of tile underlayment is crucial for a successful tiling project. From providing stability and support to ensuring waterproofing and crack prevention, the right underlayment can make all the difference in the longevity and performance of your tile installation.
As highlighted in this comprehensive guide, there are various types of underlayment options available, each with its pros and cons. Whether you opt for traditional cement backer boards, innovative foam backer boards, or specialized uncoupling membranes, it's essential to choose the option that best suits your specific needs and project requirements.
Ready to elevate your tiling game? Look no further than Calidad Tools! From top-notch trowels to premium tile-cutting blades, we've got everything you need for professional results. Shop now and experience the Calidad Tools difference – you won't be disappointed!

